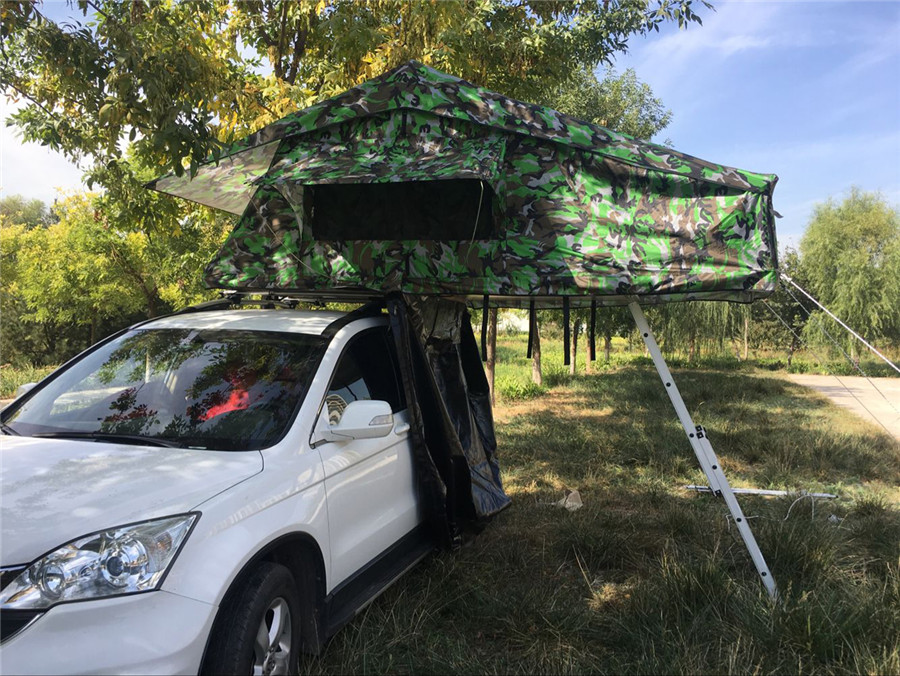
How to install a roof top tent on my car?
When it comes to enjoying the great outdoors, there's nothing quite like camping. The fresh air, the sounds of nature, and the freedom to explore new places all contribute to the allure of camping. However, traditional camping setups often involve a lot of time and effort, not to mention the discomfort of sleeping on the ground. This is where outdoor roof top tents come into play, offering a convenient and comfortable way to camp in the wild. In this comprehensive guide, we'll show you how to install a roof top tent on your car, allowing you to take your camping adventures to the next level.
Choosing the Right Roof Top Tent
Before we dive into the installation process, it's crucial to select the right roof top tent for your needs. Roof top tents come in various shapes, sizes, and designs, so it's essential to consider your specific requirements. Here are some factors to keep in mind when choosing the perfect roof top tent for your car:
Size and Capacity
The size of your roof top tent should match the number of people you plan to accommodate. Most tents are available in two sizes: two-person and four-person. Ensure that the tent you choose comfortably fits your camping party.
Roof Rack Compatibility
Check if your car's roof rack is compatible with the roof top tent you have in mind. Some tents require specific roof rack systems for secure installation.
Hardshell vs. Softshell
Roof top tents come in two primary types: hardshell and softshell. Hardshell tents are more durable and provide better insulation, while softshell tents are lighter and easier to set up. Consider which type suits your camping style.
Budget
Roof top tents vary in price, so establish a budget beforehand. While it's tempting to go for the cheapest option, investing in a quality tent can make a significant difference in your camping experience.
Step-by-Step Installation Guide
Now that you've selected the right roof top tent and gathered your tools, it's time to proceed with the installation. Follow these step-by-step instructions to ensure a secure and successful setup:
1. Prepare Your Vehicle
Before mounting the roof top tent, make sure your car is parked on a level surface. This will ensure that the tent sits evenly on your vehicle's roof.
2. Install the Roof Rack
If you don't already have a roof rack system installed, follow the manufacturer's instructions to mount one securely on your vehicle's roof. Ensure that the roof rack is compatible with your specific car model.
3. Position the Roof Top Tent
With the roof rack in place, carefully position the roof top tent on top of your car. Ensure that it is centered and aligned properly. Most roof top tents come with mounting brackets that attach to the roof rack.
4. Secure the Tent
Using wrenches and sockets, tighten the mounting brackets to secure the tent to the roof rack. Double-check that all bolts are properly tightened to prevent any movement during transit.
5. Seal the Edges
To prevent water leakage during rainy weather, apply silicone sealant around the edges of the roof top tent where it meets the roof of your car. This will create a watertight seal and keep you dry inside the tent.
6. Test for Stability
Before hitting the road, climb up the ladder and check the stability of the roof top tent. Make sure it feels secure and level. Adjust the mounting brackets if needed to achieve the desired stability.
7. Pack Your Gear
Now that your roof top tent is securely installed, you can start packing your camping gear. Don't forget essentials like sleeping bags, pillows, cooking equipment, and clothing.
Installing a roof top tent on your car is a fantastic way to elevate your camping experience. By choosing the right tent, gathering the necessary tools, and following our step-by-step installation guide, you'll be ready to hit the road and explore the great outdoors in comfort and style. Enjoy the freedom of camping wherever your adventures take you, and embrace the beauty of nature from the convenience of your own mobile rooftop sanctuary.
160
0
0


Comments
All Comments (0)